Tutorial: How to create a PNG image with an alpha transparency channel using Photoshop #
This tutorial describes how to create a background image that is to be used with the script.
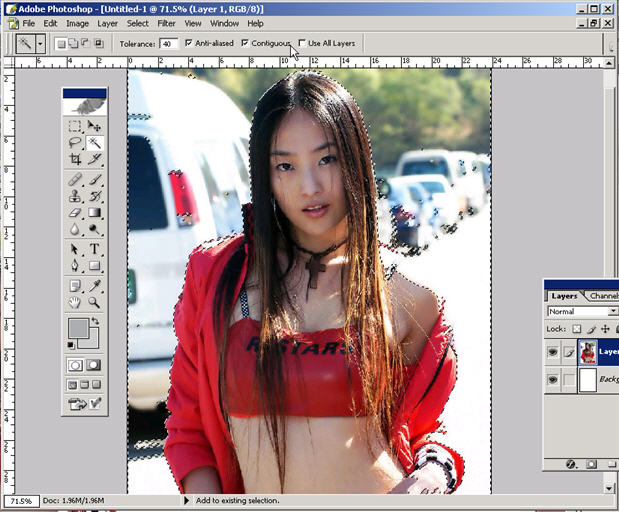
Step 1 #
Start with the original image. Select the Magic Wand tool and select the background around the image. Hold down the Shift key to add to the selection until you have selected the entire background.
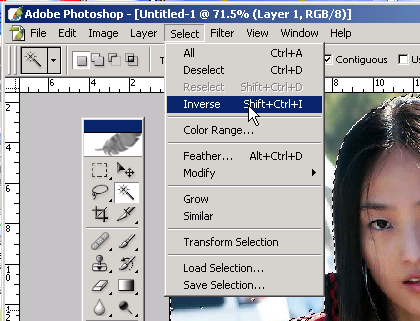
Step 2 #
Take the inverse of your selection. Go to Select -> Inverse. This will unselect the background & select the girl.
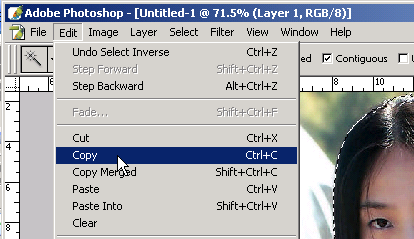
Step 3 #
Copy your selection
Step 4 #
Create a new image. Go to File-> New (Enter the height and width of your desired image, eg. 1000×1000)
Paste your selection into the new image as a new layer.
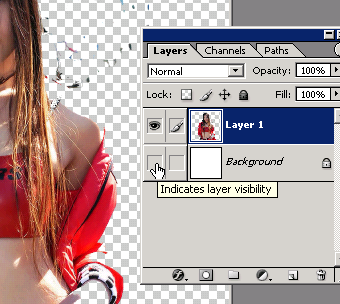
Step 5 #
Hide the background layer by clicking on the eye in the layer viewer.
Step 6 #
Clean up any unwanted pixels by selecting them and hitting the delete key on your keyboard.

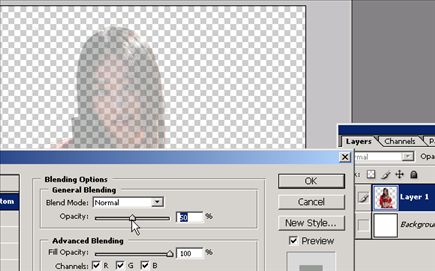
Step 7 #
Set the blending options for the Layer 1. Right click on the layer and click on “Blending Options”. You can move the Opacity slider to about 50 %
Step 8 #
Save the image as a png file
That’s it!
You can now use the image in the script as a background image.